Managing python environments
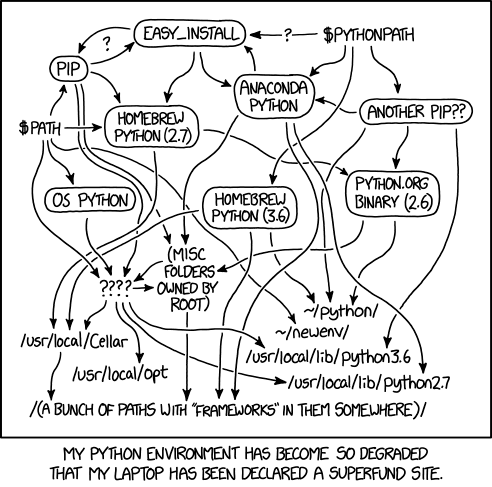
In the following section, we illustrate various approaches for managing scientific software within a Python-based environment to prevent the scenario depicted in the figure below.

Conda
Installation
Retrieve the most recent conda installer and execute it:
$ wget https://repo.anaconda.com/miniconda/Miniconda3-latest-Linux-x86_64.sh
$ bash Miniconda3-latest-Linux-x86_64.sh
Installation path tip
Set a custom installation path, preferably on the scratch disk. Conda environments may occupy significant space and you can consume all your home quota.
    Miniconda3 will now be installed into this location:
    /u/group/user//miniconda3

    - Press ENTER to confirm the location
    - Press CTRL-C to abort the installation
    - Or specify a different location below

    [/u/group/user//miniconda3] >>> /u/group/user/scratch/miniconda
  PREFIX=/u/group/user/scratch/miniconda
Conda init and (base) activation`
After the installation your .bashrc will be modified in order to have conda command available and by default base env is activated. Automatically loading the base env can slow down your login procedure, so disable it: conda config --set auto_activate_base false. Setting this flag to false can significantly speedup your login.
If you select to not auto-activate conda you will see the following prompt:
You have chosen to not have conda modify your shell scripts at all.
To activate conda's base environment in your current shell session:

eval "$(/u/group/user/scratch/miniconda3/bin/conda shell.YOUR_SHELL_NAME hook)"

To install conda's shell functions for easier access, first activate, then:

conda init

Thank you for installing Miniconda3!
The default shell in orfeo is bash so the command to activate and init the base environment is:
Usage
How to not create conda environments
Caution: It is imperative to create every environment on the target computational nodes and not the login one for various reasons:
- The login node has limitations on memory and CPU usage, which may not be sufficient for constructing a conda environment.
- Conda might compile code and build binaries that are not compatible (or at least slower) with the CPU architecture of the computational node.
- The environment could become broken due to missing libraries or version mismatches between the login node and computational nodes.
Python virtualenv
Instead of using conda, you have the option to utilize virtual environments to manage your Python packages without affecting your main workspace. Two main implementation are available:
The workflow is similar to the one of conda:
- Create an environment
- Activate the environment
- Install packages and work within it
- Deactivate the environment
Creation
To create a new environment:
[de] activation
$ ls
mySuperEnv
$ source mySuperEnv/bin/activate
(mySuperEnv)$
... some work ...
... some pip install ...
(mySuperEnv)$ deactivate
$
Python version
Note: The Python version within the virtual environment is identical to the one used for its creation.
Python version
Yes but: "conda let me choose the python version"
Where I can do that?
Remeber to do the following procedure on a computational node !
$ wget https://www.python.org/ftp/python/3.8.0/Python-3.8.0.tgz
$ tar -xzf Python-3.8.0.tgz
$ cd Python-3.8.0/
$ ./configure --enable-optimizations CC="gcc -pthread" CXX="g++ -pthread"
$ make -j 24
Create virtualenv with your favourite python version
$ python3 -m virtualenv --python="Python-3.8.0/python" mySuperEnv3.8
$ source mySuperEnv3.8/bin/activate
(mySuperEnv3.8) [user@epyc007 pyenv]$ python
Python 3.8.0 (default, Jan 15 2024, 12:07:47)
[GCC 12.2.1 20221121 (Red Hat 12.2.1-4)] on linux
Type "help", "copyright", "credits" or "license" for more information.
>>>